Invest in Yield: Prep Your Planter!
March 11, 2026Read time: approx. 8 min.
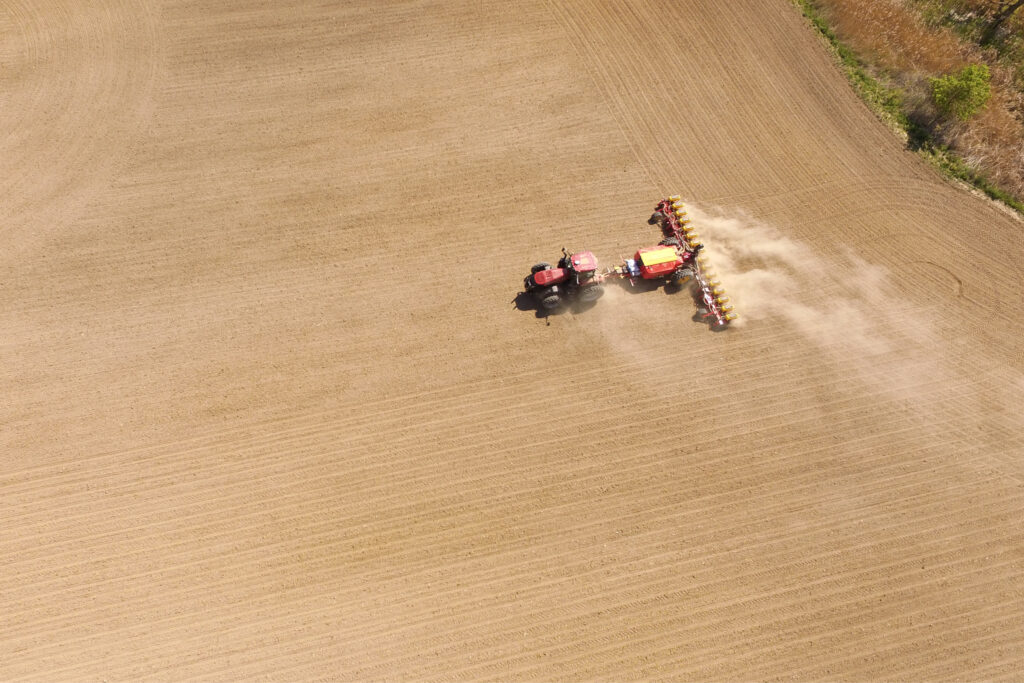
An old saying states that “you have one chance to make a first impression,” and farmers understand they get one pass of the planter in the spring to set the benchmark for the rest of the year. It underscores the need for diligence in preparing a planter, especially for corn. Regardless of the planter’s make or model, thorough preparations for your corn planter set-up can play a huge part in how your growing season unfolds, for two reasons:
- it increases the chances of even emergence, which by all agronomic accounts, increases yield, and
- it reduces the risk of untimely breakdowns during planting, amid the rush and limited windows.
Create a detailed checklist
“People don’t plan to fail; they fail to plan” may be a little clichéd, but it’s adaptable to readying a planter. The technologies incorporated into planters today have enhanced monitoring, singulation, down-pressure, and overall performance of a row unit. Yet the basic principles and theory of operation are the same, and the importance of maintenance and set-up remains.
It’d be easy to fill a list of 30 different checks on a planter, so we asked an expert for help to identify the top 12 most crucial points for checking and maintaining your planter. According to Cullin Tinline, Operations Manager from Kearney Planters, it’s best to set aside 30 minutes per row, including removing gauge wheels and at least one seed blade. This allows for a proper measurement of wear and the best visual inspection of hidden components.
“Every component plays a role in the harmonious function of the machine,” says Tinline. “There are areas that get more attention; growers tend to notice when seed-blade diameter is under spec and will change them out but are unlikely to check the shimming procedure.”
He recommends starting at the front and working your way back to the row units.
Here are the 12 key recommendations from Maizex
to get your corn planter ready for spring:
#1 | Hydraulic Lines
Check the hydraulic lines that connect to the tractor. Wipe them off and make sure they’re clean.
“The need for this is increased with newer, more-automated machines,” notes Tinline. “Units with hydraulic downforce and automated components rely on pulse-width modulation (PWM) valves to run variable-rate controls. The smallest piece of dirt or debris can cause major issues down the line.”
#2 | Clevis
Check the clevis, the main hitching point to the tractor, for signs of wear, that the hardware’s secure, and that the safety chain is intact.
#3 | Hydraulic Hoses and Fittings
Next, examine every crimp of the hydraulic hoses and fittings to see if there’s any seepage.
“Look at the coating on the hydraulic hoses,” says Tinline. “When they’re new, everything looks fine, but as things age, the coating starts to come off and exposes the braiding, and that’s an opportunity for a leak.”
#4 | Cylinder
The cylinder is also prone to seepage. Taking the time to examine it now, before heading to the field, greatly diminishes the chance of having bigger problems down the road.
#5 | Wiring & Hoses
Still working your way back to the planter, look at every set of wiring and hoses.
“We have a lot of moving parts and some pivot points,” notes Tinline. “Any place where those hoses are flexing or the wiring is flexing is a place where you really want to take some extra care.”
One other note about the wiring: with more hydraulics, there’s more electrical work, some with hydraulically-driven alternators (because the amperage the tractor can provide may be inadequate).
“The more wiring, the more connectors we get and the more diligent we have to be,” reminds Tinline. “Also, some of those alternators may have a battery and we should have those batteries inside—in a warm, dry place—in the winter time.”
#6 | Tires & Wheels
In the drive to check the row units, don’t overlook the tires and wheels, especially inflation pressures. The fact they appear to be holding air isn’t good enough.
“Not only are they important for stabilization and the wear-life of the tire, it’s the rolling radius of these tires that’s carefully calculated into the rate charts,” explains Tinline. “The tire on the bottom end is 40 PSI and 50 PSI on our top-drive tire, and that ratio is critical.”
Also check the wheel itself. Tinline notes the wheel-bolt torque is often overlooked and that the rim needs to be examined to ensure there’s no cracking.
“It’s also a good idea to jack the wheel and check its bearings. Make sure they aren’t loose, and make sure they’re not dry-sounding,” he adds. “We have a lot of weight going down the road on these four tires and safety is a priority.”
Don’t forget to have fun while checking over your planter.
#7 | The Parallel Arm
The row unit encompasses many different features, which is why it’s best to keep things separate starting with the parallel arm.
“With loose bushings, we get a roll-unit chatter, which can affect our seed distribution area with a type of ‘plinko effect’ with the seed falling down,” cautions Tinline. “We want to make sure those bolts are tight.”
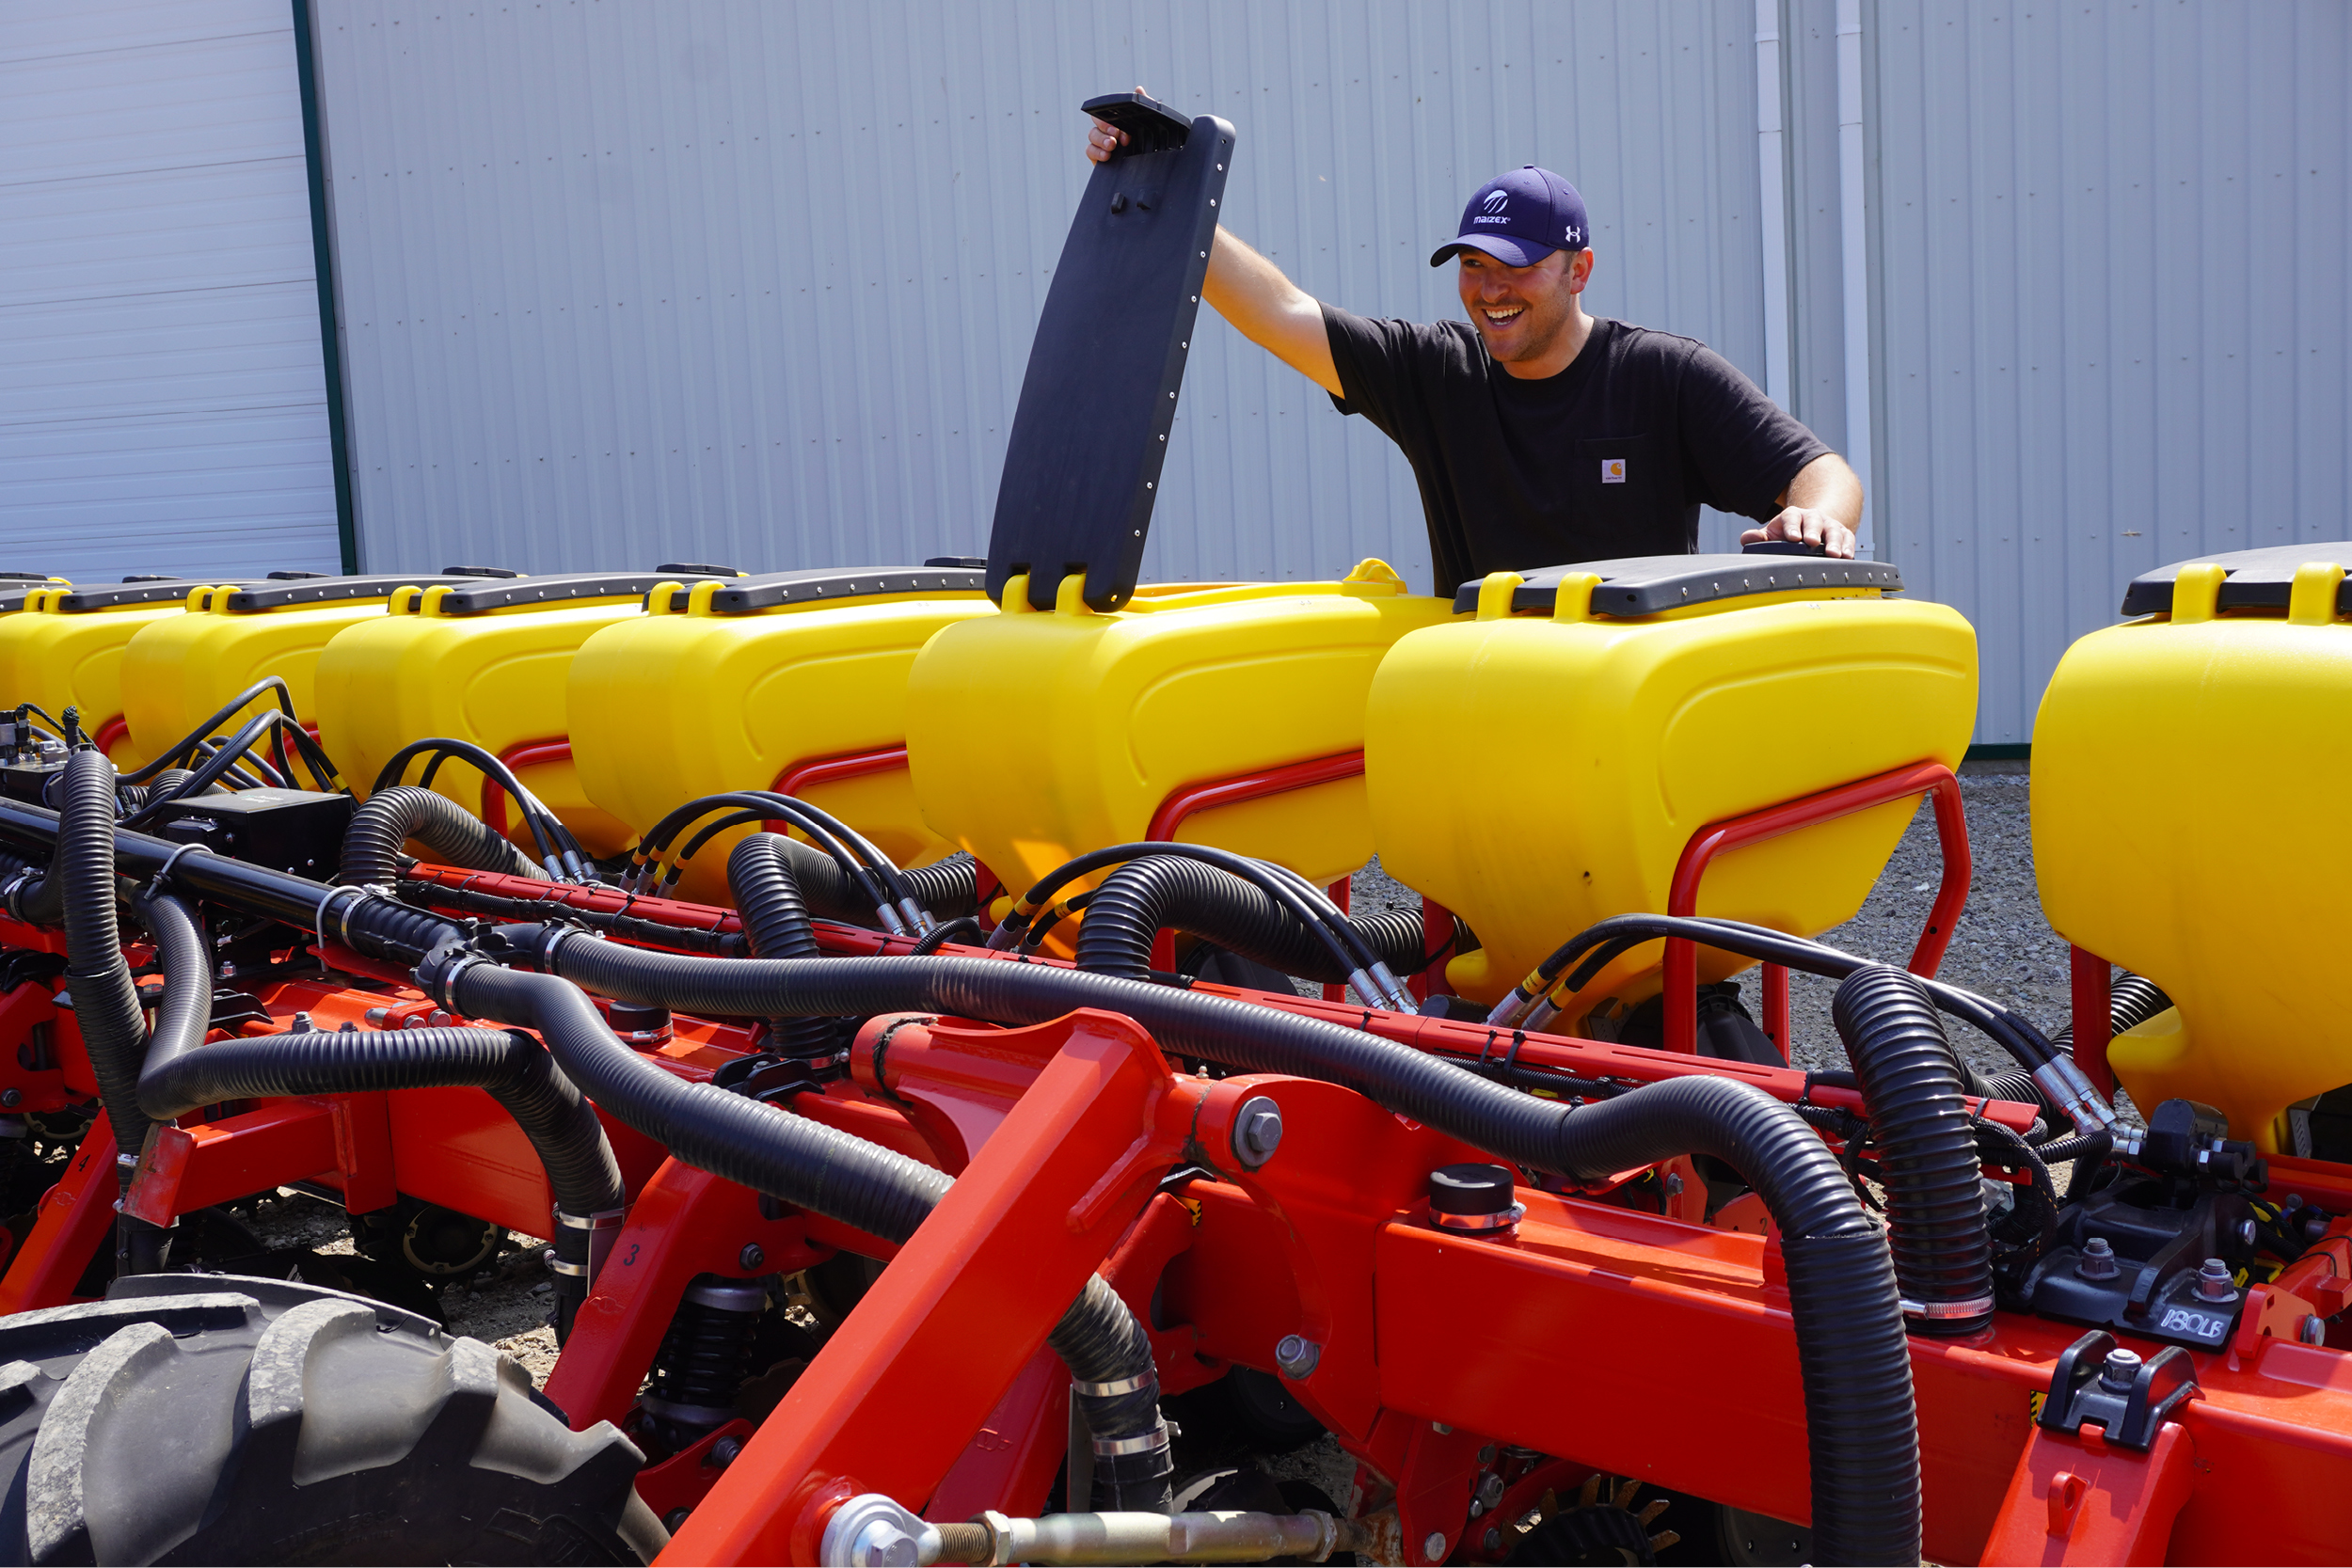
#8 | Seed Blades
Since even emergence depends on their performance, seed blades almost warrant their own discussion on preparation. Tinline suggests removing the seed blade from a row unit and measuring it from side to side. When new, the blades are 15 inches across.
“At 14½, we recommend replacement,” he adds. Once it’s off, it’s easier to see the different components that are part of the seed distribution system. “With the inner scraper, as some people call it, or the seed tube guard, 5/8s of an inch is the minimum at the bottom. When these seed blades squeeze together, its purpose is to protect the seed tube and the row unit shank.”
If the seed tube is worn or flaking, it can alter the seed’s flight down the row unit.
#9 | Seed Firmers
These are a must-have (all rows!); they are the last piece of the planter to touch the seed. Ensuring good seed-to-soil contact is a must, as floating seeds will lead to uneven emergence.
Seed firmers (often Keetons) have a tension spec, which requires 1¼ pounds to lift it 1¼ inch off the ground.
Note that it is important to replace seed firmers on a timely basis. When the bottom is too rounded, it can lead to variable-depth seed placement, so seed firmers should be monitored for wear.
#10 | Seed Blade Contact
Setting the tension of the seed blade contact is another requirement. It should be 1 to 1½ inches, and Tinline recommends 1½ inches on a new blade and 1 inch closer to the bottom end.
“If the blades are new, they have a lot of paint on them,” he adds, noting technicians with Kearney Planters will buff off the paint or scrape it off with a utility knife. “We want to make sure we have metal-to-metal contact on those so that our adjustment is proper.”
When shimming the seed blade, keep in mind their thickness varies based on the manufacturer, which can lead to differences in thickness of the contact area. The blade contact should be adjusted as the blades wear. The amount of contact determines the final width, shape, and depth of the seed trench.
“Too much contact makes a narrower, shallower trench,” says Tinline. That may cause too much blade flex and cause the hubs and rivets to break and ruin bearings. “Too little contact allows a gap between blades, causing a ‘W’ trench, where the seed could fall either side of the ridge and cause uneven emergence. At the very least, it causes a wider trench with loose soil and poor seed alignment.”
The seed tube guard (centre scraper) is also part of the configuration, but Tinline reminds farmers that it does more than keep the seed blades from wearing out the seed tube. It also aids in forming the seed-trench: as the ground attempts to squeeze the blades inward, it maintains the minimum distance required to ensure the trench isn’t too narrow.
Finally, when checking seed-blade contact, use something roughly the thickness of a piece of paper. Some may use business cards or playing cards, but Tinline believes those are too thick and could tamper with the measurement.
#11 | Seed Meters
Depending on the monitor set-up (with or without row-by-row singulation), seed meters need to be checked. Tinline recommends taking them off the hoppers and letting a dealer conduct detailed performance reports. Mechanical meters need to be adjusted as they wear, and while vacuum or pressure meters require less maintenance, small leaks around a seal worth $20 can make a huge difference in overall efficiency.
#12 | Zero the Planter
We saved the best for last: zeroing the planter, which sets every row at the same depth at the same setting. Using a jack and two-inch blocks, raise the unit until it contacts the seed blades on the flat plate, bringing the gauge wheels to roughly two inches.
“Then I’ll shallow the depth handle until it stops,” says Tinline. “I can assume this is a two-inch depth setting, so make a mark (preferably with a paint pen) on this row unit, then continue down the line. We’ll find out whether every row unit is the same depth on the same setting.”
It may seem odd that rows wear differently. However, planting the ditch bank for an extra row, hitting obstacles, or consistently running on a pinch row or in a wheel track will cause things to become uneven.
“It gives us a starting point to know when things are the same, and if we go up or down, we always know where our zero point is,” adds Tinline.
An ounce of prevention …
Taking the time to check and ready your planter is an investment, one that’s certain to pay dividends, whether it’s in time saved avoiding breakdowns in the field or in yield optimization from even emergence.
Remember, one pass in the spring sets the benchmark for the rest of the growing season.
We thank Cullen Tinline from Kearney Planters for his time and input on this tutorial.